Electronic Components
- Home|
- Switch Control|
- Dual AC Solid State Relay
Dual AC Solid State Relay
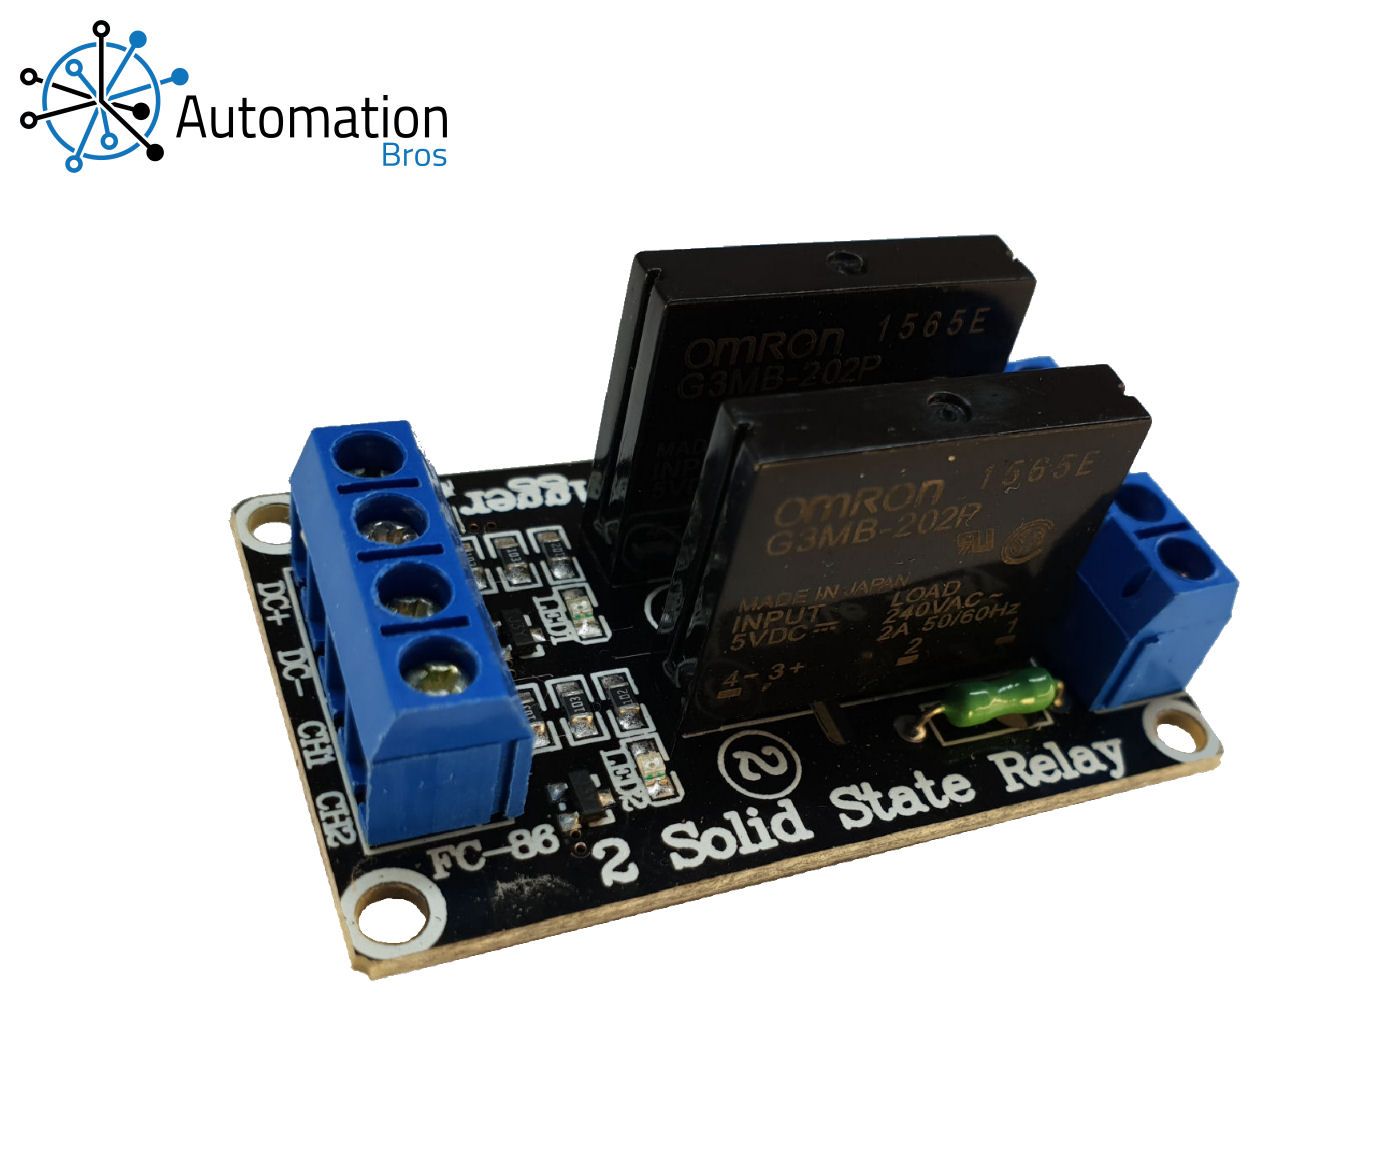
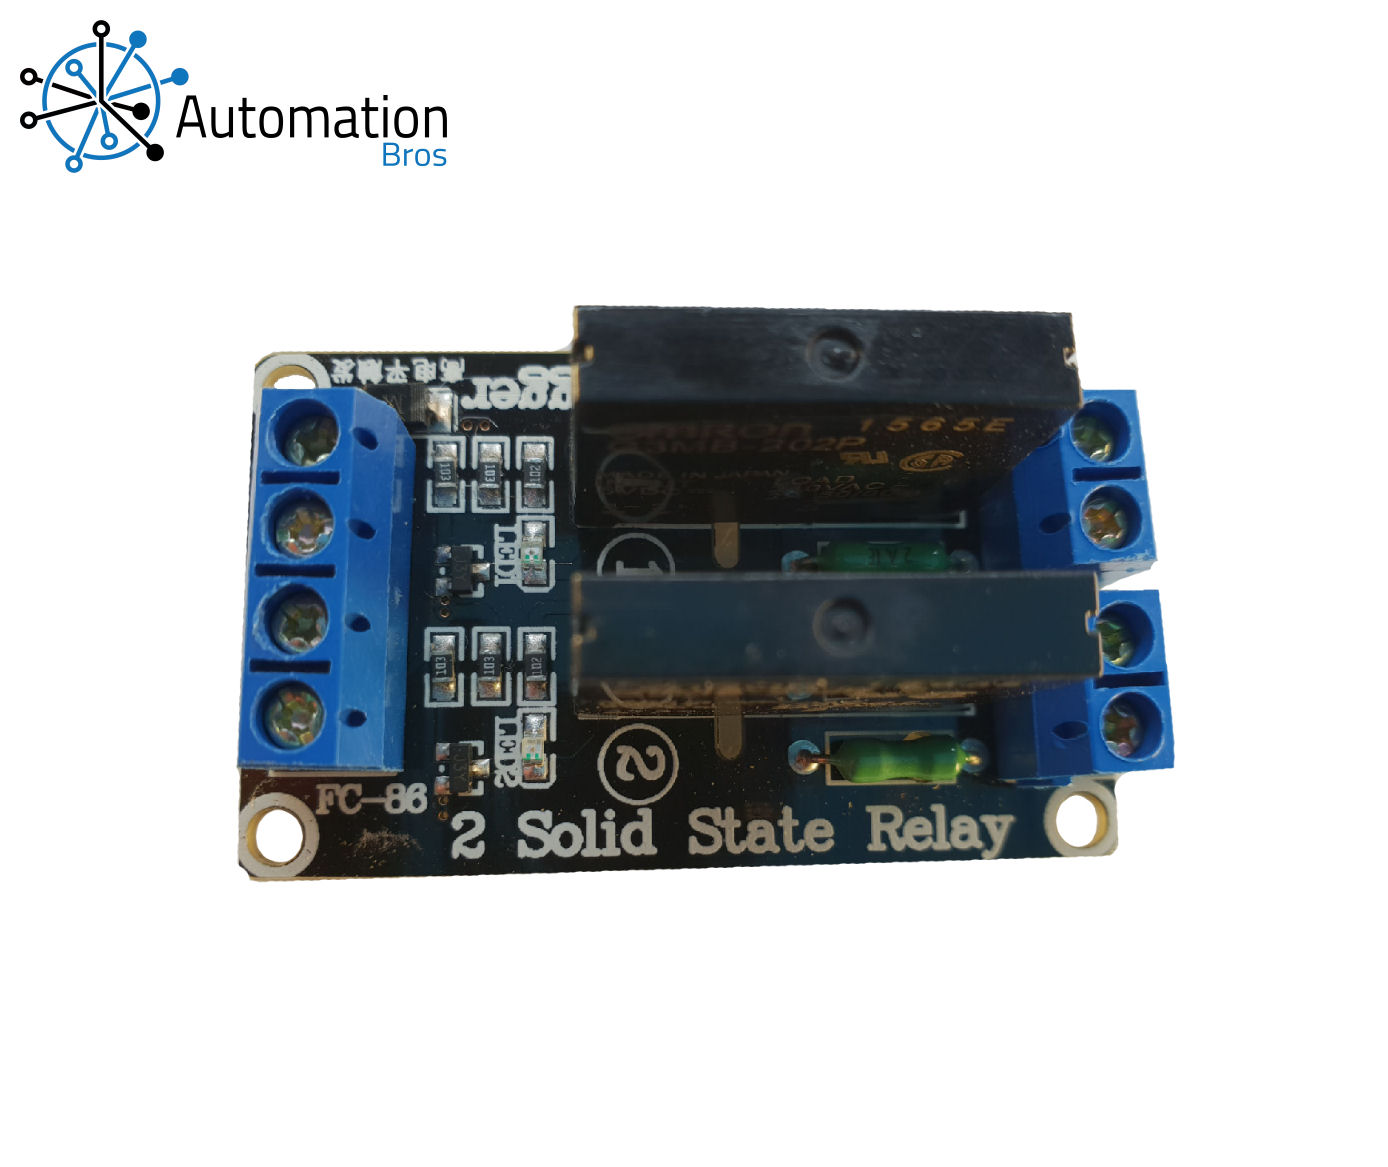
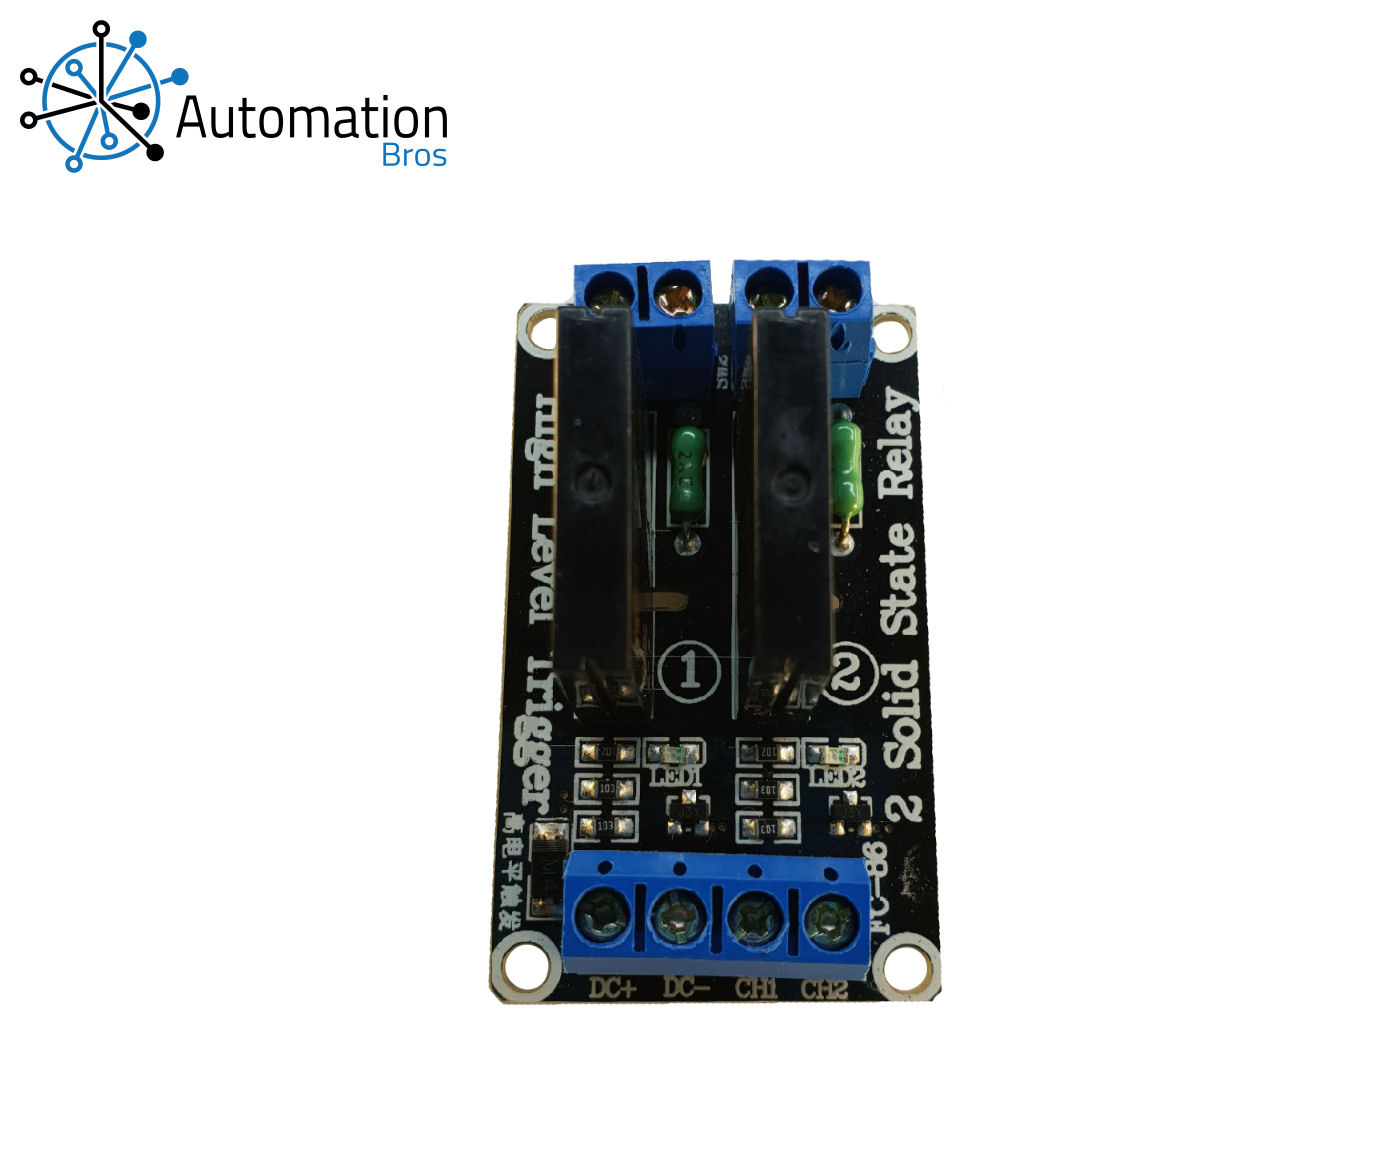
Active High. This dual channel 3.3 / 5v Solid State Relay module can be used in projects, such as smart home implementation and other automated applications, including switching, Motors, Lamps, Pumps, Roller blinds, etc... OUTPUT: AC voltage 240v 2A max It can be controlled directly with 3.3v or 5v logic signals from a micro-controller or TTL drivers. Inbuilt LED's to indicate an SSR is ON
- Code
- Questions & Answers
- Specifications
basic Arduino Code for Dual SSR Module
FUNCTION: The Arduino LED (connected to pin 13) will flash briefly to indicate SSR 1 is on, at the same time SSR 1 will turn ON. After a brief interval (aproximatley 1/3 second) the led will flash again, at the same time SSR 2 will turn ON. About 1 second later, both SSR's will turn OFF and the cycle will repeat. If you open the Serial Port at 9600 Baud: You will see a text confirmation of when an SSR is ON or OFF You will also see the TX Led flash briefly when the serial lines are sent.
/* BASIC 2 SSR TIMER
 ***************************************************
   WIRING:
   5v pin on the Arduino to DC+ on the SSR board
   GND pin on the Arduino to DC- on the SSR board
   Pin 6 on the Arduino to CH1 on the SSR board
   Pin 7 on the Arduino to CH2 on the SSR board
 ***************************************************
   FUNCTION:
   The Arduino LED (connected to pin 13) will flash briefly
   to indicate SSR 1 is on, at the same time SSR 1 will turn ON.
   After a brief interval (aproximatley 1/3 second) the led will flash again, at the same time SSR 2 will turn ON.

   About 1 second later, both SSR's will turn OFF and the cycle will repeat.

   If you open the Serial Port at 9600 Baud:
   You will see a text confirmation of when an SSR is ON or OFF
   You will also see the TX Led flash briefly when the serial lines are sent.
*/

// Declare Pins
int firstSSR = 6;
int secondSSR = 7;
int ledPin = 13;

// the setup function runs once when you press reset or power the board
void setup() {
  // Open a Serial port at 9600 Baud
  Serial.begin(9600);
  // Initialize digital pins 6, 7, & 13 as outputs.
  pinMode(firstSSR, OUTPUT);
  pinMode(secondSSR, OUTPUT);
  pinMode(ledPin, OUTPUT);
}

// The loop runs over and over again until the arduino is re-programmed
void loop() {
  digitalWrite(ledPin, HIGH);   // The LED is On
  digitalWrite(firstSSR, HIGH);   // Solid State Relay 1 is On
  Serial.println("SSR 1 is ON");
  delay(350);                       // Led delay
  digitalWrite(ledPin, LOW);  // The LED is Off
  delay(350);                       // Led delay
  digitalWrite(ledPin, HIGH);   // The LED is On
  digitalWrite(secondSSR, HIGH);   // Solid State Relay 2 is On
  Serial.println("SSR 2 is ON");
  delay(350);                       // Led delay
  digitalWrite(ledPin, LOW);  // The LED is Off
  delay(650);                 // Relay interval
  digitalWrite(firstSSR, LOW);   // Solid State Relay 1 is Off
  digitalWrite(secondSSR, LOW);   // Solid State Relay 2 is Off
  Serial.println("Both SSR's are OFF");
  Serial.println(""); // Add an empty line
  delay(1000);                       // wait for a second
}
intermediate Arduino Code for Dual SSR Module
FUNCTION: The Arduino LED (connected to pin 13)will flash briefly when a SSR is ON. Open the Serial monitor (9600 baud) Type 1 to turn SSR 1 ON Type 2 to turn SSR 2 ON Type 0 to turn both SSRs OFF You will see a text confirmation of when an SSR is ON / OFF You will also see the TX Led flash briefly when the serial lines are sent.
/* INTERMEDIATE 2 Channel SSR PROGRAM
 ***************************************************
   WIRING:
   5v pin on the Arduino to DC+ on the SSR board
   GND pin on the Arduino to GND on the SSR board
   Pin 6 on the Arduino to CH1 on the SSR board
   Pin 7 on the Arduino to CH2 on the SSR board
 ***************************************************
   FUNCTION:
   The Arduino LED (connected to pin 13)will flash briefly when an SSR is ON.

   Open the Serial monitor (9600 baud)
   Type 1 to turn SSR 1 ON
   Type 2 to turn SSR 2 ON
   Type 0 to turn both SSRs OFF

   You will see a text confirmation of when an SSR is ON / OFF
   You will also see the TX Led flash briefly when the serial lines are sent.
*/


// Declare Pins
int firstSSR = 6;
int secondSSR = 7;
int ledPin = 13;

void setup() {
  // Start Serial at 9600 baud
  Serial.begin(9600);

  // Set the relayPin as an OUTPUT
  pinMode(firstSSR, OUTPUT);
  pinMode(secondSSR, OUTPUT);
  pinMode(ledPin, OUTPUT);

  // Write digital pins 6 and 7 LOW to hold the SSRs off.
  digitalWrite(firstSSR, LOW);
  digitalWrite(secondSSR, LOW);

  // Acknowledge the program
  Serial.println("PROGRAM READY");
  Serial.println(""); // Print a blank line
}

// The loop runs over and over again until the arduino is re-programmed
void loop() {
  while (Serial.available()) {
    char inChar = (char)Serial.read();
    if (inChar == '1') {
      digitalWrite(firstSSR, HIGH); // Turn SSR 1 ON
      digitalWrite(ledPin, HIGH);   // The LED is On
      Serial.println("SSR 1 is ON");
      delay(350);                       // Led delay
      digitalWrite(ledPin, LOW);  // The LED is Off
    }
    else if (inChar == '1') {
      digitalWrite(secondSSR, HIGH); // Turn SSR 2 ON
      Serial.println("SSR 2 is ON");
      digitalWrite(ledPin, HIGH);   // The LED is On
      delay(350);                       // Led delay
      digitalWrite(ledPin, LOW);  // The LED is Off
    }
    else if (inChar == '0') {
      digitalWrite(firstSSR, LOW); // Turn SSR 1 OFF
      digitalWrite(secondSSR, LOW); // Turn SSR 2 OFF
      Serial.println("BothSSR's  are OFF");
      Serial.println("");  // Print a blank line.
    }
    else if (inChar != 1 && inChar != 2 && inChar != 0) {
      Serial.println ("Command not recognised");
      Serial.println("");  // Print a blank line.
    }
  }
}
Dual AC Solid State Relay
This module is active high. Active HIGH High= On /Greater than 3 volts at the IN pin will turn the SSR ON Low = Off / Less than 1.5 volts at the IN pin will turn the SSR OFF 4 Pins: VCC / GND / CH1 / CH2 (Connection instructions are in the comments at the top of the example code). This Module can be controlled directly with 3.3V or 5V logic signals from a micro-controller or TTL drivers. Input: 3.3 / 5v DC Output: 240v 2Amps max AC


